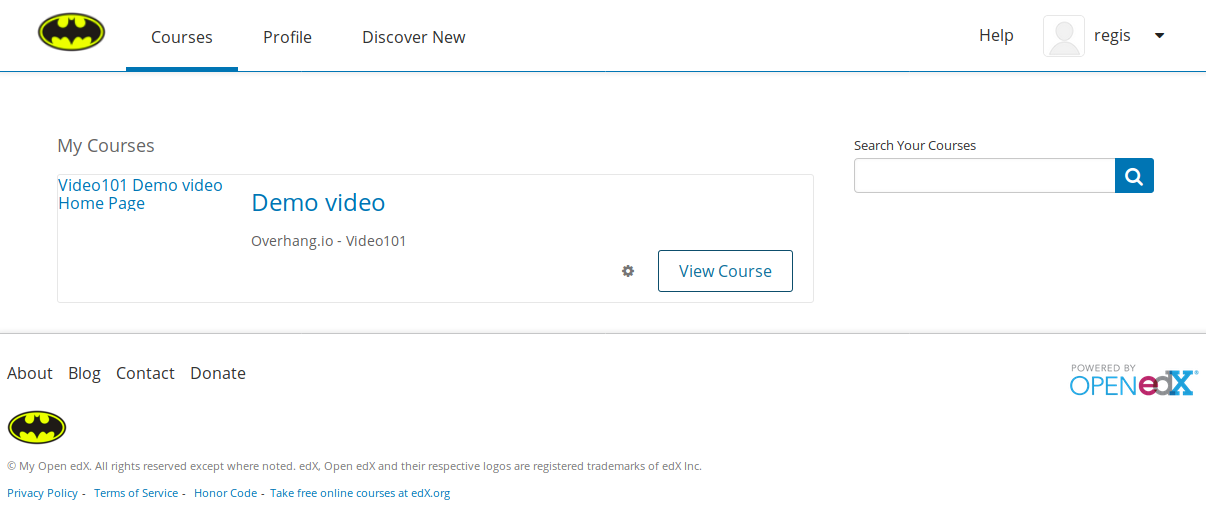
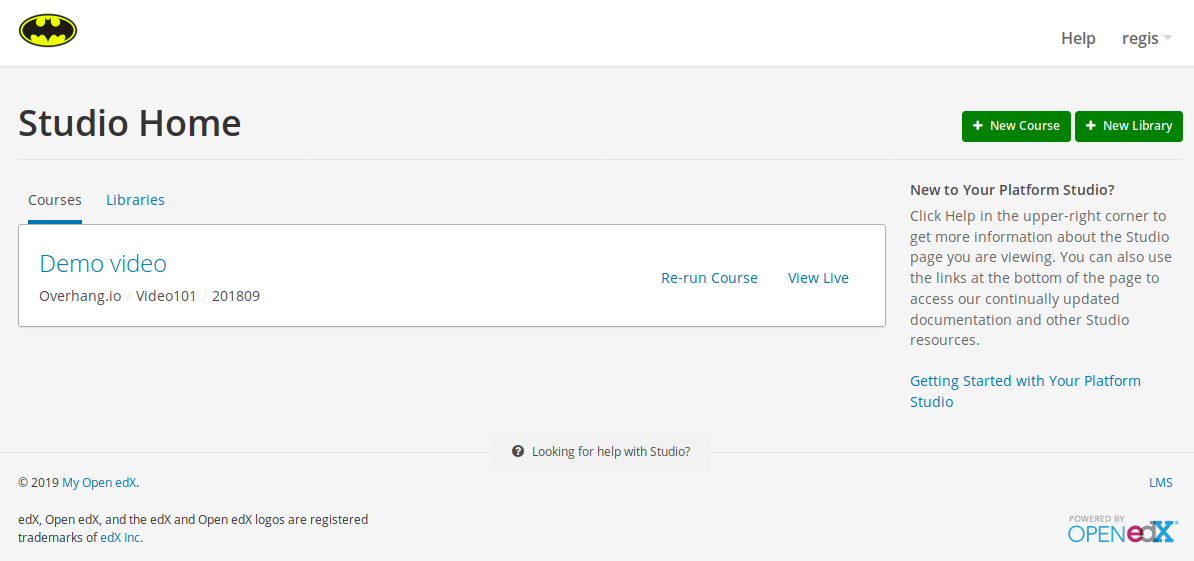
The default Open edX theme shipped with Tutor looks like this:
It’s a fairly neutral theme that can fit most organizations. There are different technical solutions to customise this theme: the usual approach is called “comprehensive theming” (see the official Open edX documentation). Tutor makes it easy for any platform operators to create a theme with this approach (see the Tutor docs).
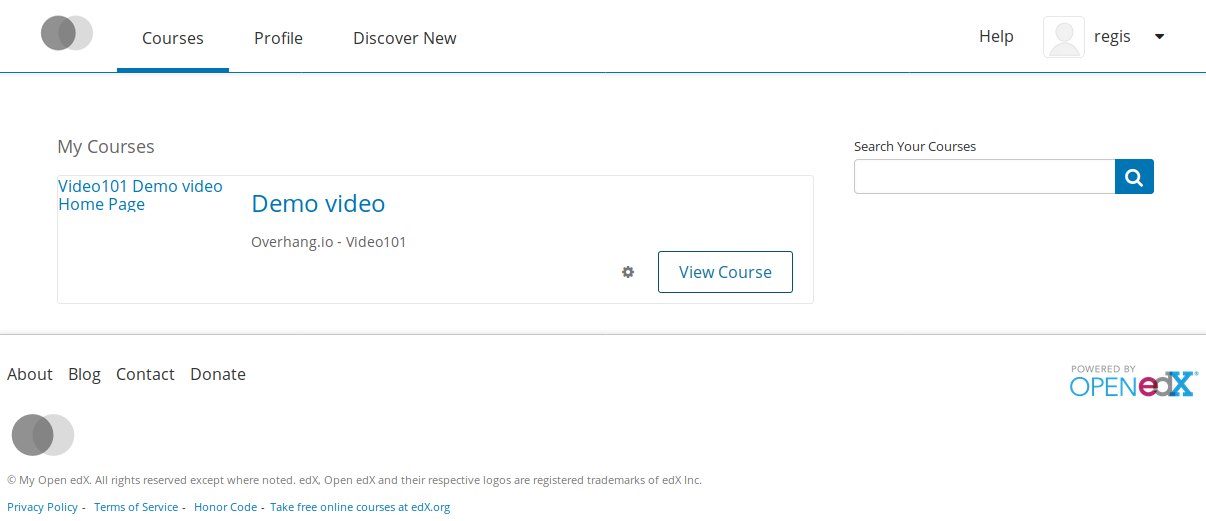
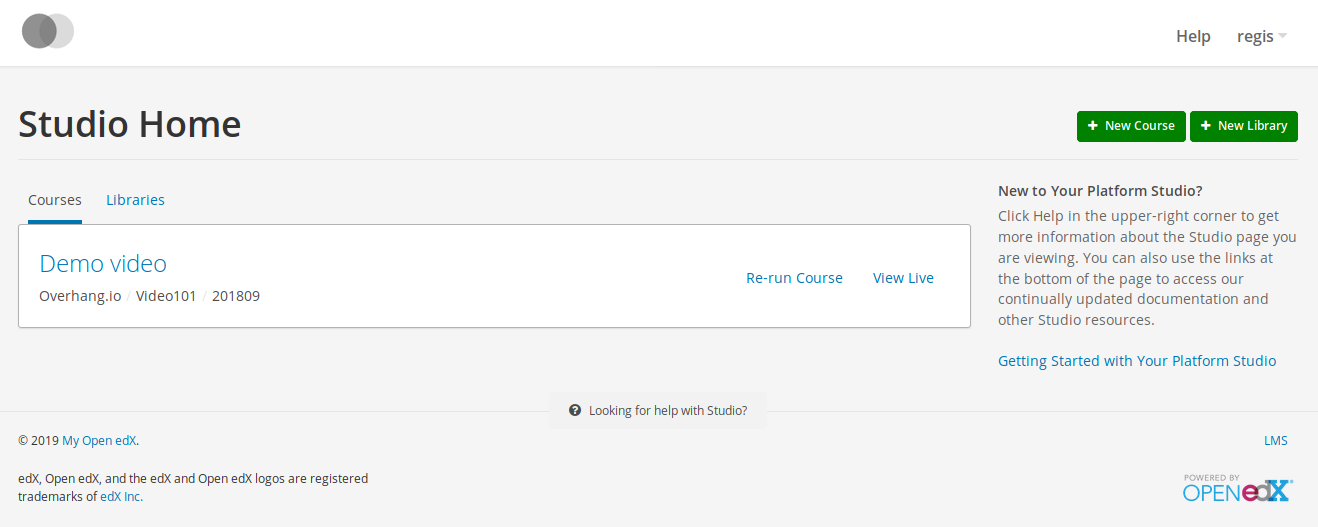
When creating an Open edX theme, the first thing that you will probably want to do is to customise the default “twin grey discs” logo that appears both on the LMS and the Studio.
![]()
To do so, you will have to create a very basic theme that will contain just your logo image. Head to the tutor root folder (indicated by tutor config printroot) and create the following directory structure:
env/build/openedx/themes/branded/
└── lms
    └── static
        └── images
            └── logo.png
└── cms
    └── static
        └── images
            └── studio-logo.png
The directories may be created with:
mkdir -p $(tutor config printroot)/env/build/openedx/themes/branded/lms/static/images
mkdir -p $(tutor config printroot)/env/build/openedx/themes/branded/cms/static/images
You may pick a different name than “branded”. This will be your theme name. The logo.png and studio-logo.png images will replace the default logo image in the LMS and the CMS, respectively. The recommended maximum image size is 60x60 pixels. As a long-time user of imagemagick, I obtained these images by running:
mogrify -resize 60x60 logo.png
mogrify -resize 60x60 studio-logo.png
You should then re-build the openedx docker image, as per the Tutor documentation on theming:
tutor images build openedx
Then, restart your platform:
tutor local stop && tutor local start
To activate your themes, head over to the administration panel at http://localhost/admin/theming/sitetheme/ (replace “localhost” by your real host for a live production platform). Click the “Add site theme” button to create a theme with a dir name equal to “branded” that will be used by the “localhost” site:
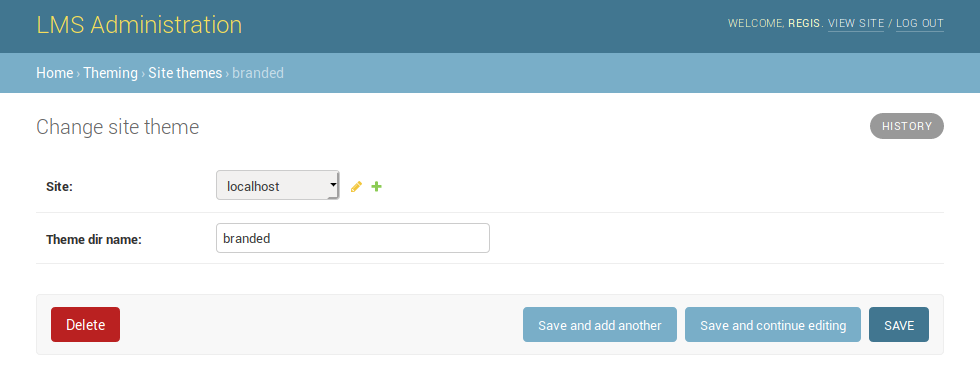
Again, you should replace “localhost” by the real LMS domain name, given by tutor config printvalue LMS_HOST, for a live production platform.
Do the same for the “studio.localhost” site to enable the theme in the studio.
That’s it! When you reload the LMS or the CMS pages in your browser, you should see that the default logo has been replaced by your own custom image.